Gravity Forms is one of the most popular WordPress form plugins available today. With over 5 million active installs, it powers forms on websites big and small across the globe.
In this multi-part guide, we’ll take an in-depth look at how to use Gravity Forms to create all kinds of powerful forms for your WordPress site.
Getting Started with Gravity Forms
Gravity Forms was first released in 2008 by RocketGenius. It was designed to be an easy-to-use drag-and-drop form builder that could handle complex forms with conditional logic, multi-page forms, and integrations with payment gateways and email marketing services.
Some key facts about Gravity Forms
– Available in 29 languages
– Built strictly using WordPress best practices
– Completely customizable with code or visual builder
Gravity Forms is a premium plugin with different pricing options available. But it’s widely considered one of the best investments you can make in your WordPress site. The amount of time it saves compared to trying to code your own forms by hand is incredible.
With Gravity Forms, you can quickly create:
- Contact forms
- Registration forms
- Online surveys
- Quizzes and polls
- Job applications
- Event registrations
And so much more!
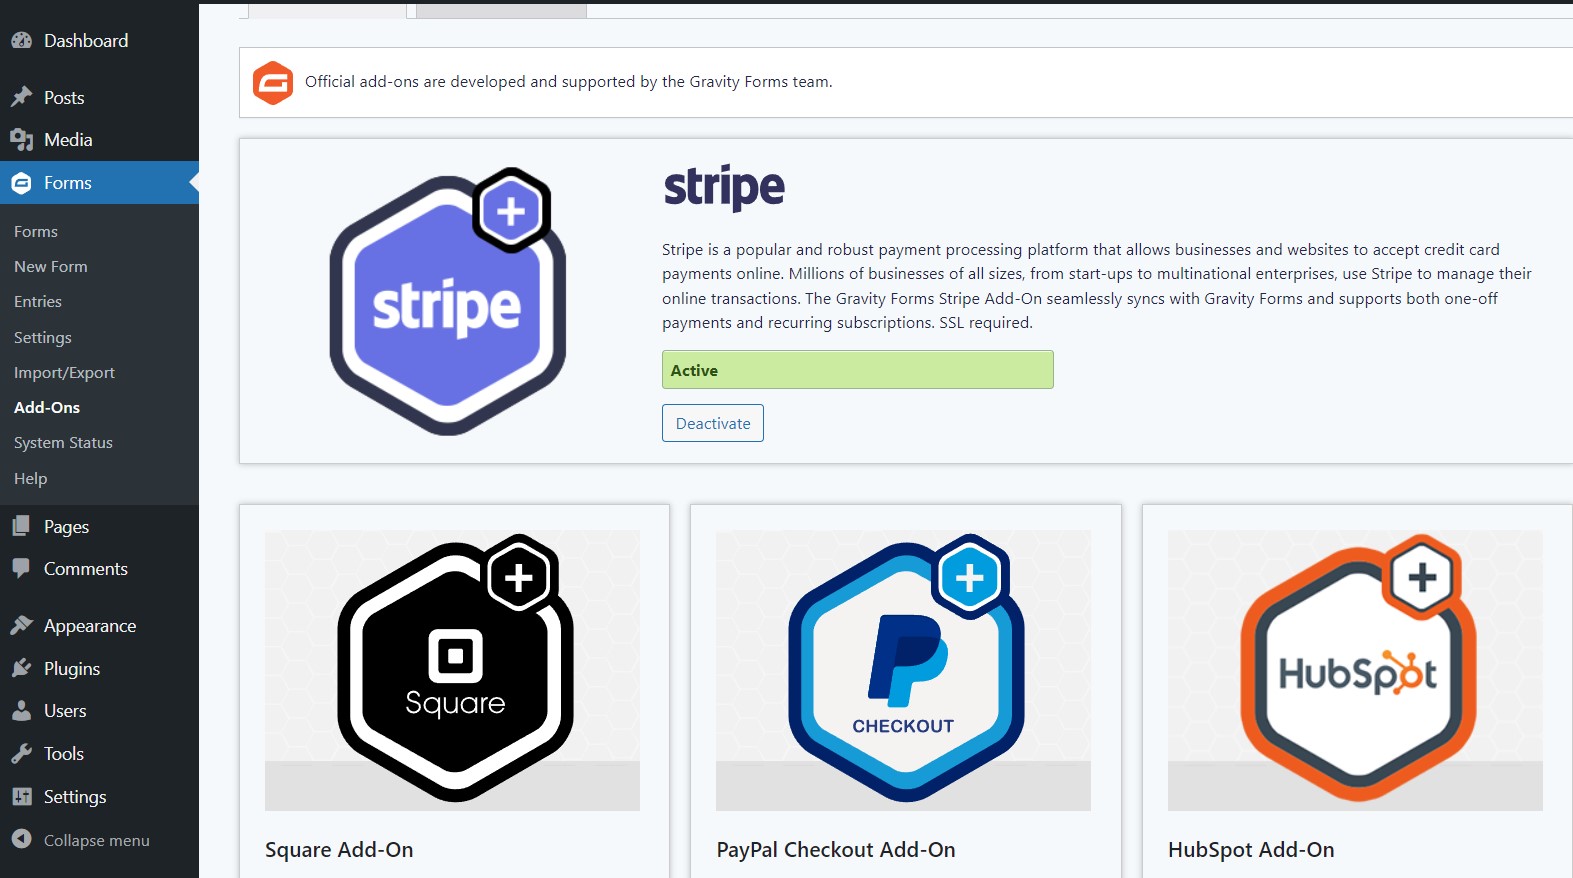
Gravity Forms is fully customizable and extendable through add-ons, allowing you to integrate your forms with third-party services and extend their functionality.
Why Choose Gravity Forms?
There are a few key reasons why Gravity Forms is one of the most popular form plugins for WordPress:
- Easy-to-Use Drag and Drop Builder: The visual editor allows you to build complex forms in minutes using a simple drag-and-drop interface. This makes form building quick and efficient.

- Accessibility: Gravity Forms adheres to WCAG 2.1 AA guidelines and implements ARIA standards making forms accessible to those with disabilities.
- Extendable and Flexible: With over 70 official add-ons and integrations, Gravity Forms can integrate with virtually any third-party service. It can be used for far more than just contact forms.
- Trusted and Supported: Gravity Forms is backed by a full-time professional support team and a network of certified developers who build additional functionality.
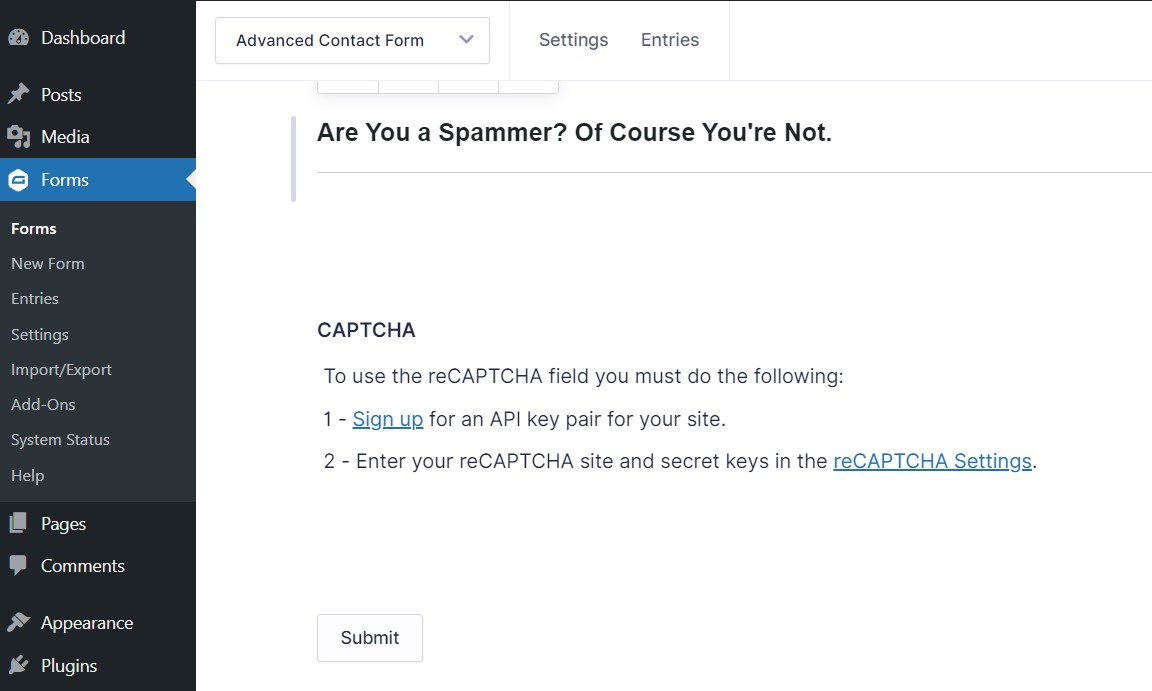
- Spam Protection: Built-in anti-spam measures like honeypot fields and CAPTCHAs prevent spam form submissions.
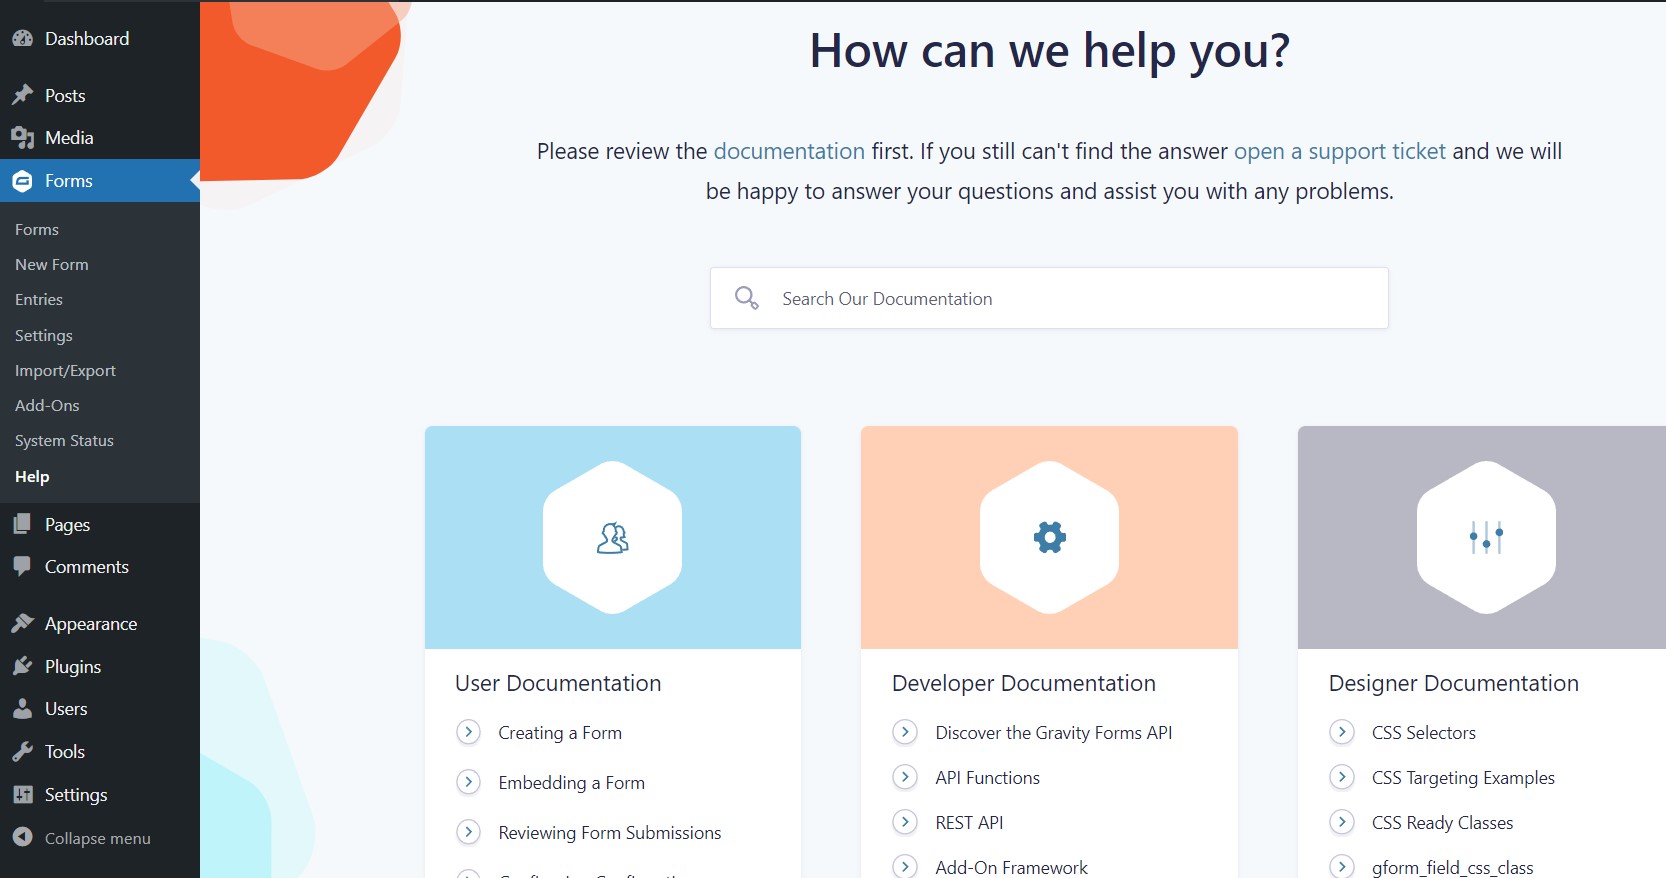
- Great Documentation: Gravity Forms provides extensive documentation allowing you to quickly learn how to use the plugin.
Gravity Forms Pricing
There are three pricing options available for Gravity Forms:
1. Basic – $59 per year
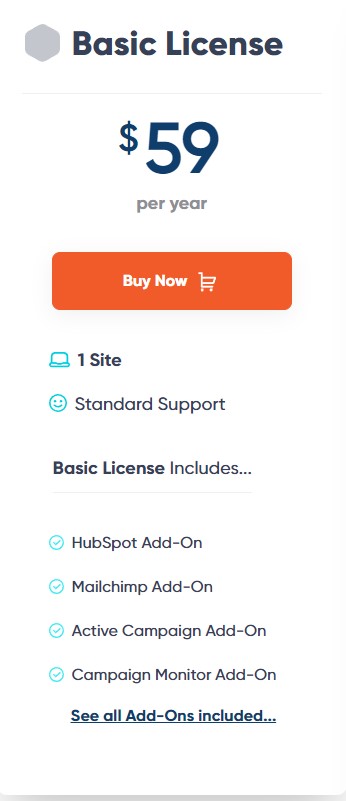
The Basic license is ideal for personal projects, blogs, and basic marketing sites focused on email list growth. Key details include:
- Licensing for 1 Site
- Standard Support
- All Basic Add-ons
Basic add-ons provide integrations with popular email marketing and notification platforms like Mailchimp, HubSpot, SendGrid, and more. Spam protection tools like Google reCAPTCHA are also included.
2. Professional – $159 per year
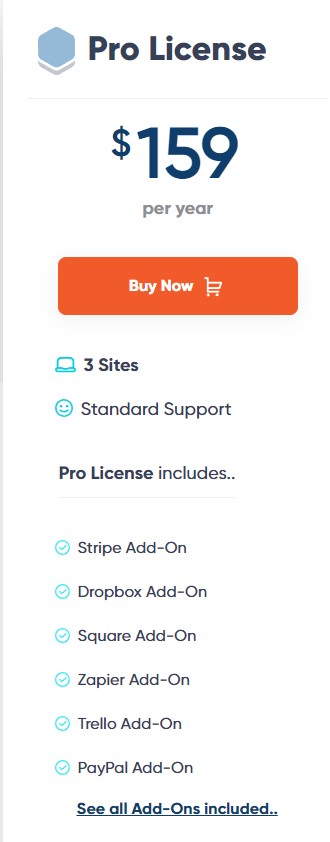
The Pro license adds multi-site support, advanced integrations, and payment processing capabilities. It’s designed for businesses and sites accepting payments. Pro license highlights:
- Licensing for up to 3 Sites
- Standard Support
- All Basic and Pro Add-ons
Pro add-ons offer deep integrations with CRMs, accounting software, automation tools, and payment processors like Stripe, PayPal, Square, and Mollie.
3. Elite – $259 per year
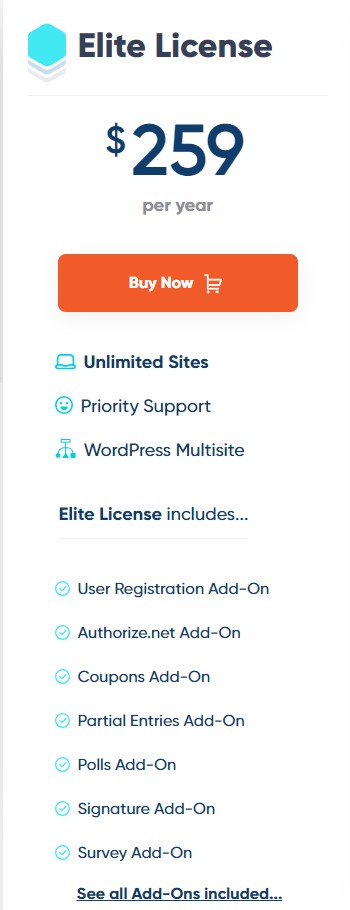
The Elite license unlocks unlimited sites, priority support, and access to all add-ons. It’s ideal for agencies, enterprises, and advanced users with complex needs. Elite license features:
- Licensing for Unlimited Sites
- Priority Support
- All Basic, Pro, and Elite Add-ons
Elite add-ons enable powerful functionality like user registration, coupons, surveys, quizzes, advanced payments, analytics, automation, and more.
As you can see, the Professional package is likely the best option for most users. It adds all the premium functionality you’ll need for accepting payments, using conditional logic, and integrating with services like MailChimp.
The Elite tier is best suited for agencies who need unlimited site licenses and priority support.
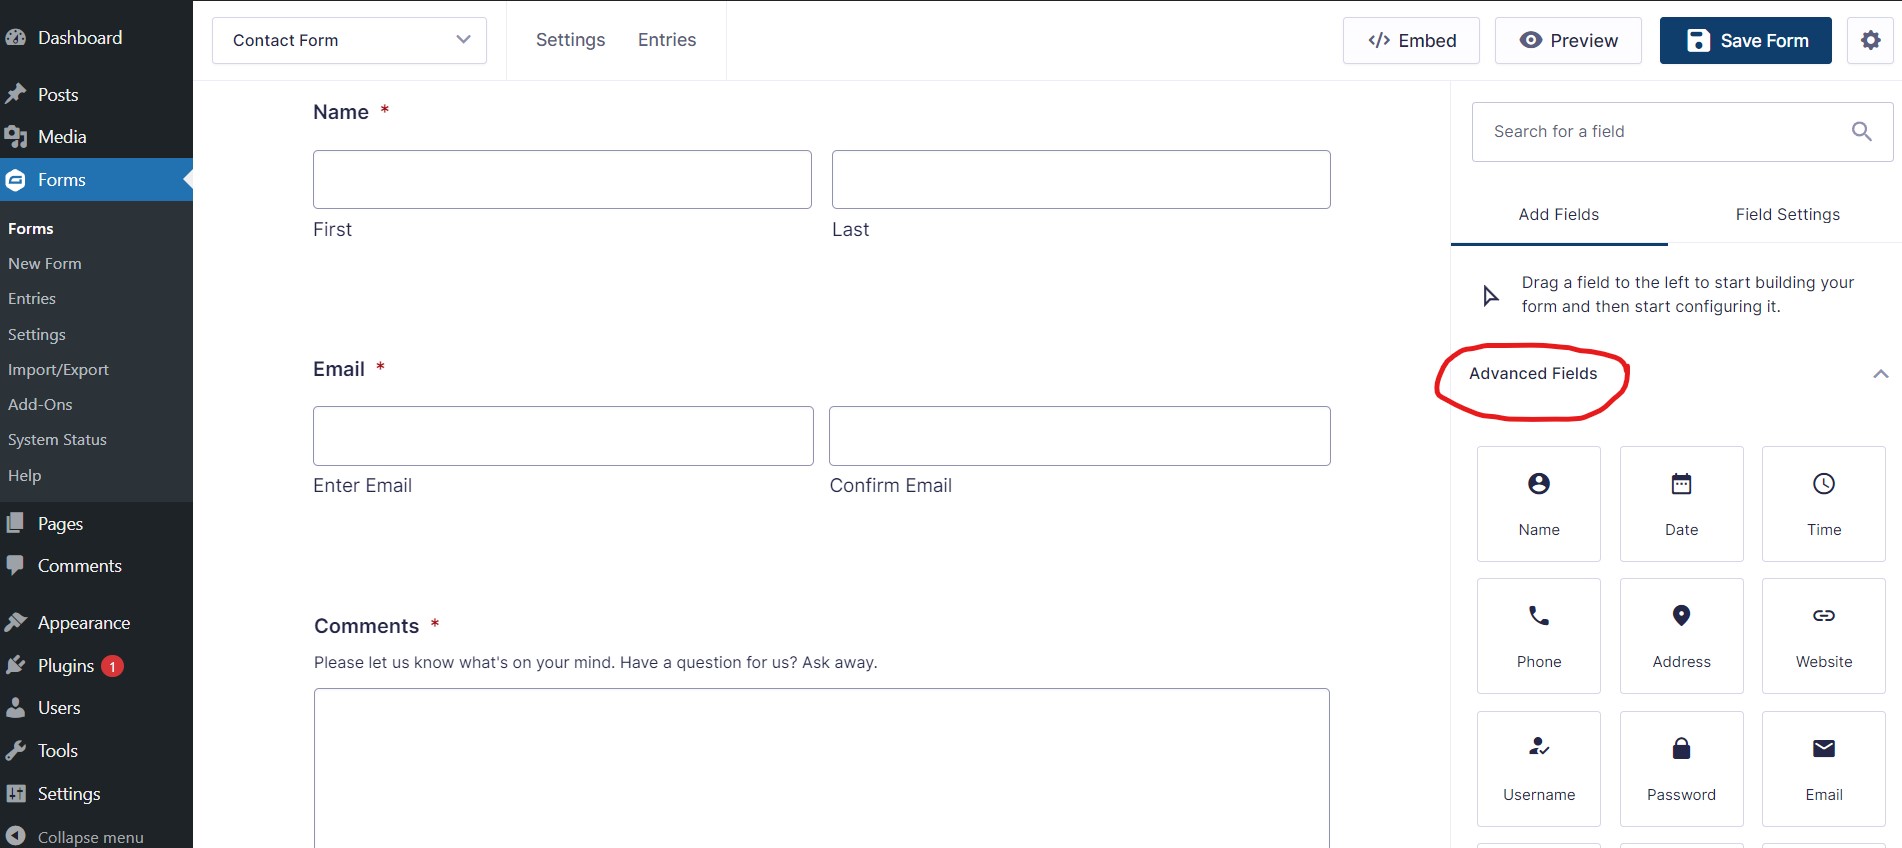
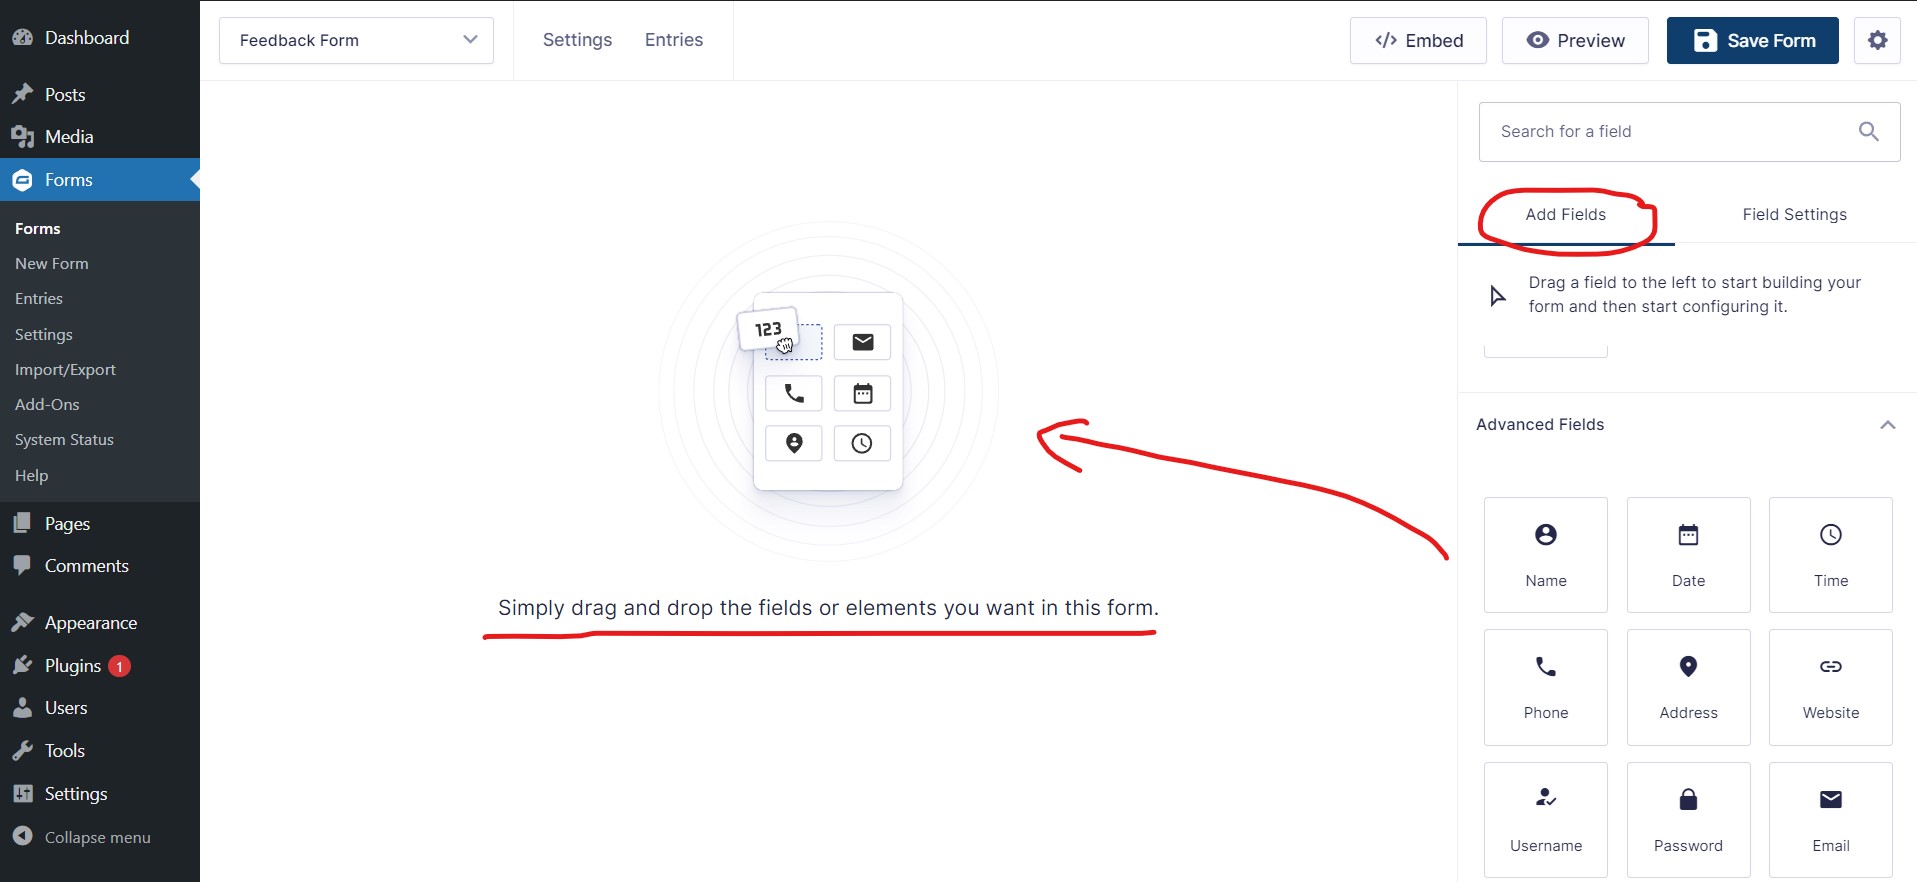
Gravity Forms Form Fields
One of the best parts of Gravity Forms is the extensive amount of field types available right out of the box. You can create complex forms faster because the fields already have validation and conditional logic built-in.
Here are all the different field types you can add to your Gravity Forms:
Basic Fields

- Text – For single line text inputs like name, email, etc.
- Paragraph Text – For multi-line text, comments, messages, etc.
- Dropdown – Select from a pre-defined list of options.
- Number – For only allowing number inputs.
- Name – Stores first and last name in separate inputs.
- Date – Date picker field.
- Time – Time picker field.
- Phone – Validates US phone numbers.
- Address – Separate fields for all address info.
- Website / URL – Validates URL formatting.
- Email – Validates email address formatting.
- Hidden – Store hidden info like IP, user ID, etc.
Advanced Fields
- File Upload – Allow users to upload documents and files.
- List – Display checkboxes, radio buttons, or dropdown.
- Post Fields – Pull data from post types, pages or categories.
- Post Image – Display images from WordPress media library.
- Signature – Draw an electronic signature.
- HTML – Insert custom HTML into forms.
- Section – Break up forms into sections.
- Page – Create multi-page form workflows.
Payment Fields
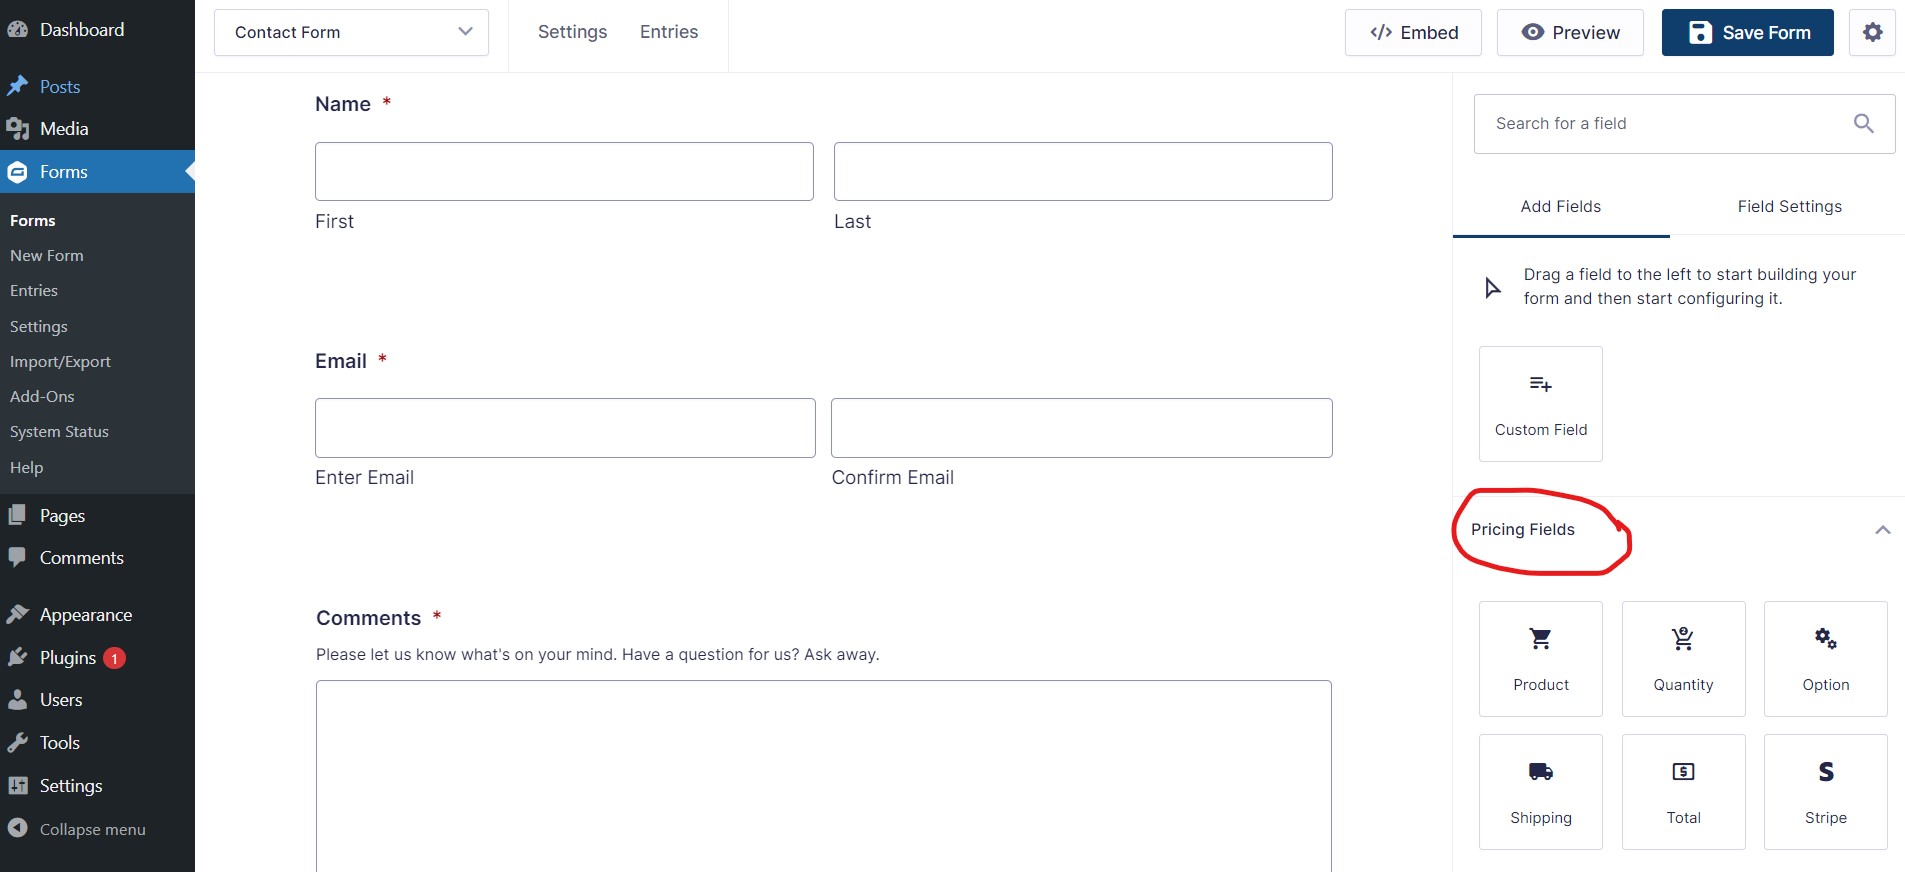
- Product – Create pricing fields.
- Donation – Custom donation amounts.
- Total – Calculates total based on other fields.
- Shipping – Collect shipping address and cost.
- Credit Card – Collect credit card details.
Specialized Fields
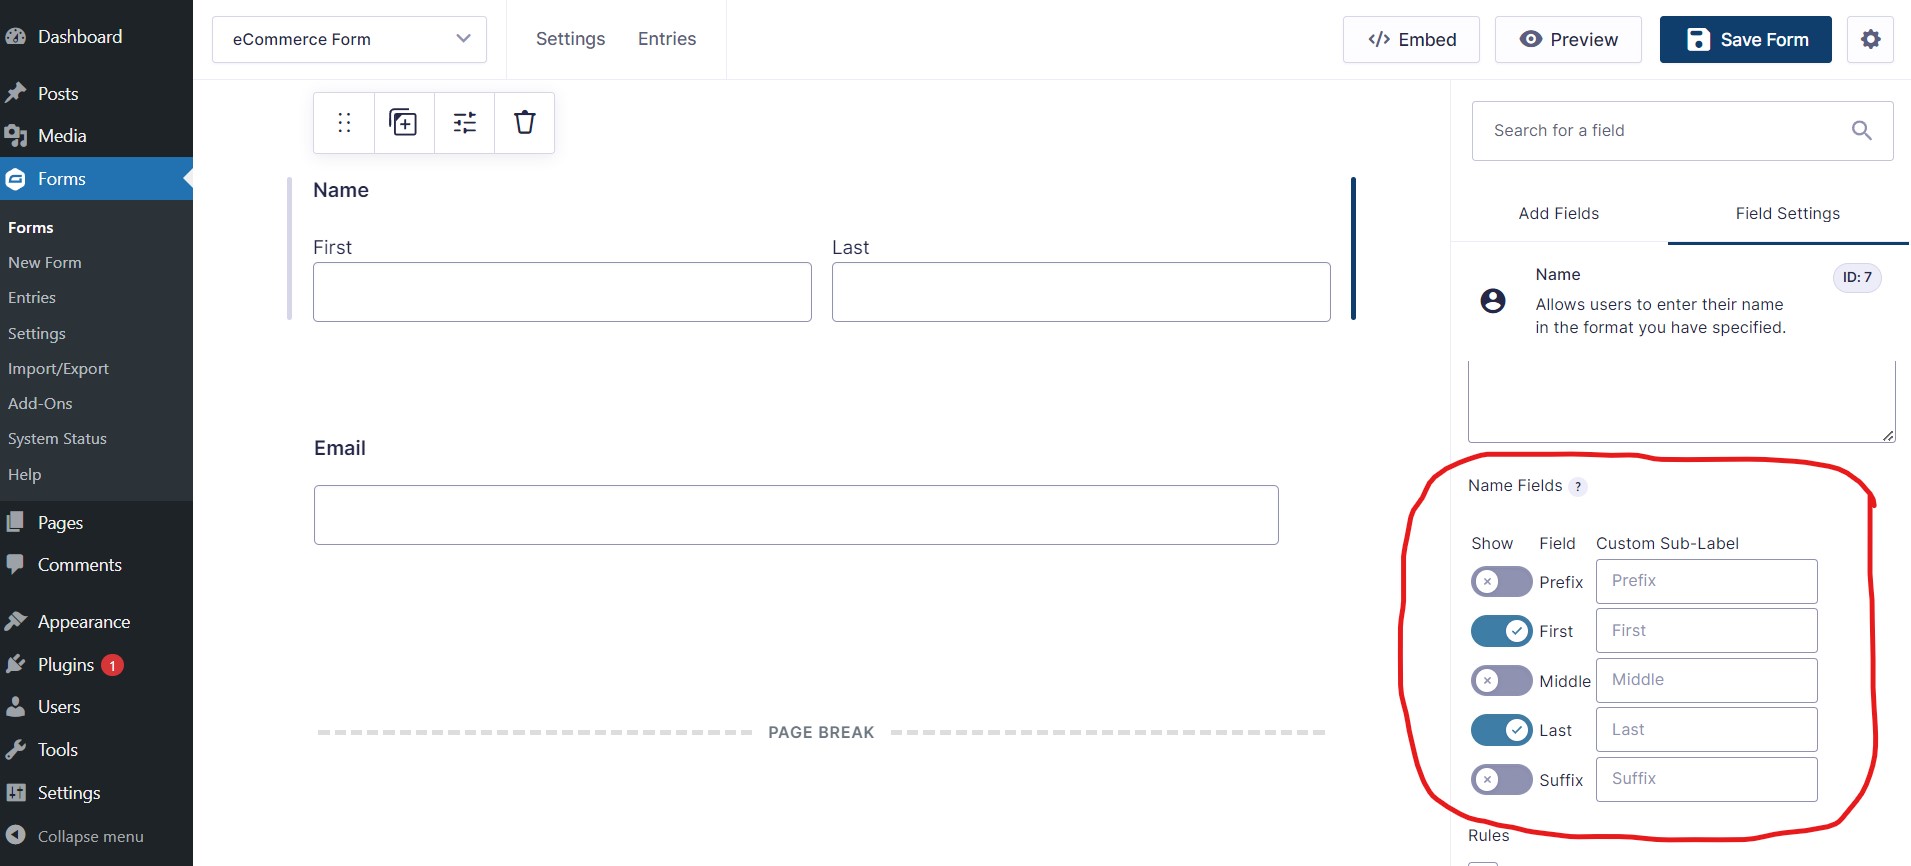
- Name – Break the name into specific inputs like prefixes, first, middle, last, and suffixes.
- Date / Time – Separate date and time pickers.
- Phone – Include extensions, country code selectors, etc.
- Address – Individual inputs for address line 2 and country.
- Website – Built-in formatting for site vs full URL.
- Repeater – Repeat other fields dynamically.
As you can see, Gravity Forms comes loaded with an extensive amount of field types to handle pretty much any use case you can think of.
Everything from basic text inputs to complex multi-page forms with dynamic repeaters, payments, and signatures can be created.
Building Multi-Page Forms in Gravity Forms
Gravity Forms makes it easy to break up your forms across multiple pages with built-in page break fields.
Here are some examples of when you may want to use multi-page forms:
- Long registration forms
- Surveys are split into category sections
- Checkout workflows with billing, shipping, and payment pages
- Job applications with education, work experience, etc.
To create a multi-page form:
- Edit an existing form or create a new blank form.
- Add fields to the first page of your form.
- Click to add a new Page Break field where you want the page split.
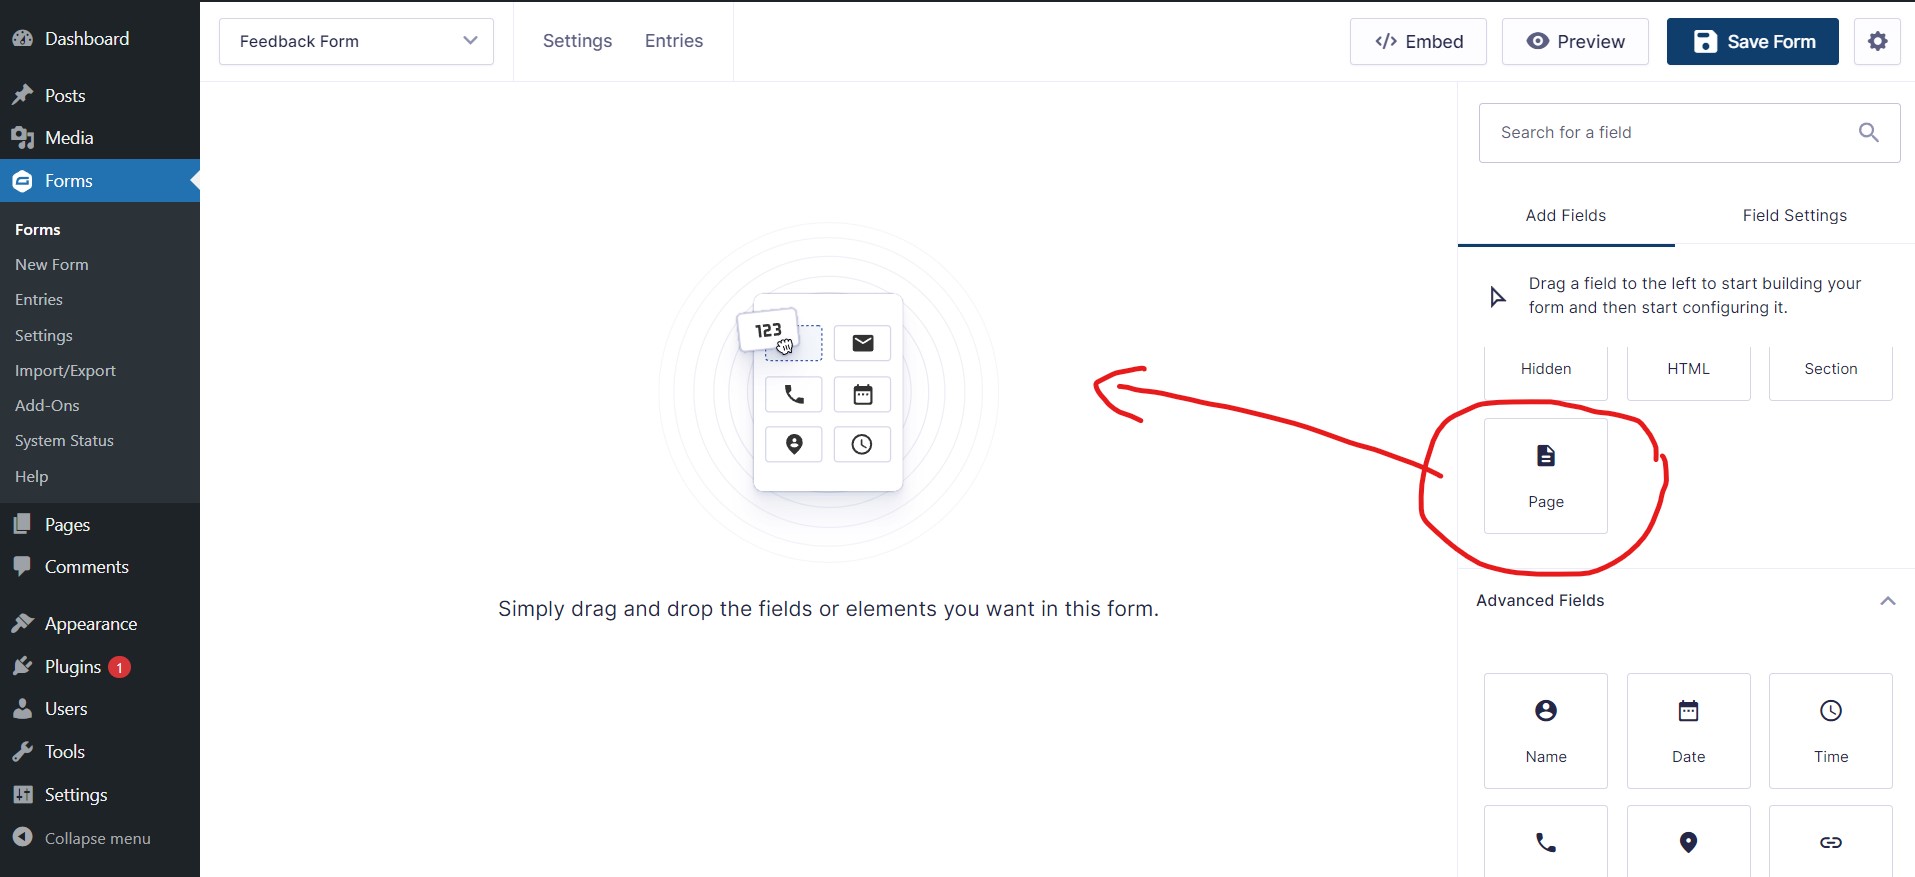
- Add additional fields that will show on the next page.
- Repeat steps 3-4 to add additional pages as needed.
- Use the Page tab in the form editor to manage, reorder, and rename the different pages.

Some tips when working with multi-page forms:
- Use page names so users know where they are in the workflow.
- Enable progress indicators so users can see how far along they are.
- Conditionally require pages based on previous selections.
- Load values from the first page to pre-populate other pages.
Multi-page forms open up a whole new realm of possibilities with Gravity Forms. Complex wizards and conditional logic can be created to tailor the experience.
Embedding Gravity Forms onto Pages
There are a few different ways to embed forms in WordPress – shortcodes, widgets, template code, and our new friend, the block editor. Let’s break it down one by one so you can pick the right approach.
1. Using the WordPress Block
For most people, the easiest option is just to use the dedicated Gravity Forms block in the block editor.
To use it:
- Create or edit a post or page
- Click the plus icon to add a new block
- Search for “Gravity Forms”
- Select your form from the dropdown
And your form is inserted into the page and ready to style.
From the block toolbar, you can configure stuff like the form title, description, AJAX submission, and even preview it. It’s crazy simple for newbies and pros alike. Just embed, configure, and ship it!
2. Embedding with a Shortcode
Now, maybe you aren’t using the block editor yet. Totally cool. Old-school shortcodes have you covered.
Every Gravity Form has a unique shortcode you can copy from the form settings. Just paste that puppy wherever you want the form to appear.
A basic shortcode looks like:
[gravityform id="1" title="false" description="false" ajax="true"]You can toggle the title, description, AJAX submission, and more. Shortcodes may take a bit more work than blocks, but they still get the job done!
3. Using Template Code
This is when you really want granular control or need to embed a form in a custom page template.
Gravity Forms has a template tag that will output the raw form HTML:
<?php gravity_form(1, false, false, false); ?>Just swap in your form ID and toggles. You can also pass ‘true’ as the last parameter to return the raw HTML instead of echoing it.
Template code is great for advanced devs who need total flexibility.
4. Embedding in Widgets
Lastly, you can use the Gravity Forms widget to easily add any form to sidebars, footers, or other widget areas. Just drag, drop, and configure like any other widget.
No matter how you decide to embed your Gravity Forms, make sure to thoroughly test it on the front end. Check that it appears and functions as expected on all screen sizes.