This document demonstrates how to integrate the Gravity Forms PDF Add-on with the Gravity Forms Notifications Add-on.
Initial setup
First, you need to set up both the Gravity Forms PDF and Gravity Forms Notifications Add-ons. Detailed instructions can be found here for Gravity Forms PDF and here for Gravity Forms Notifications.
Configuring Gravity Notifications
After completing the setup of both add-ons, follow these steps:
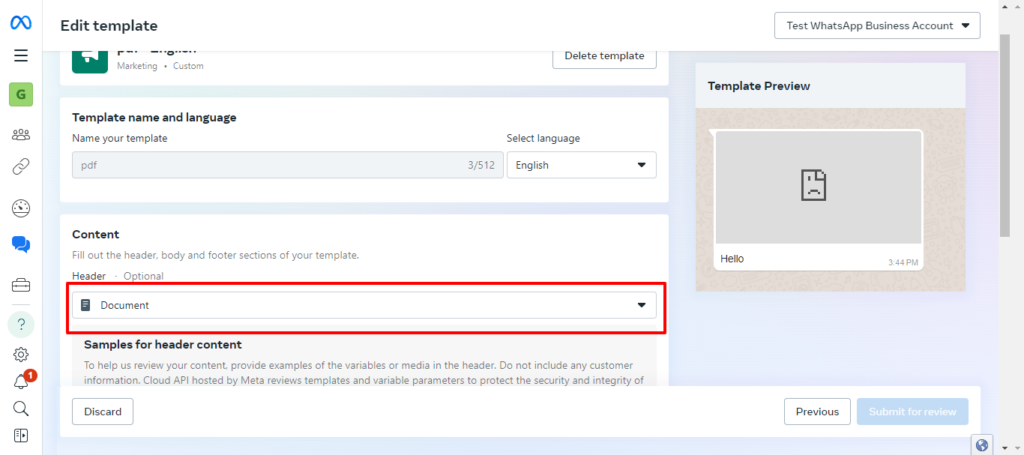
- Go to Meta/WhatsApp template dashboard and create a new template. While creating the WhatsApp template on, please select the Document type as the header content type. Then create the template as you usually do.
- Create a Gravity Form with all the desired fields.
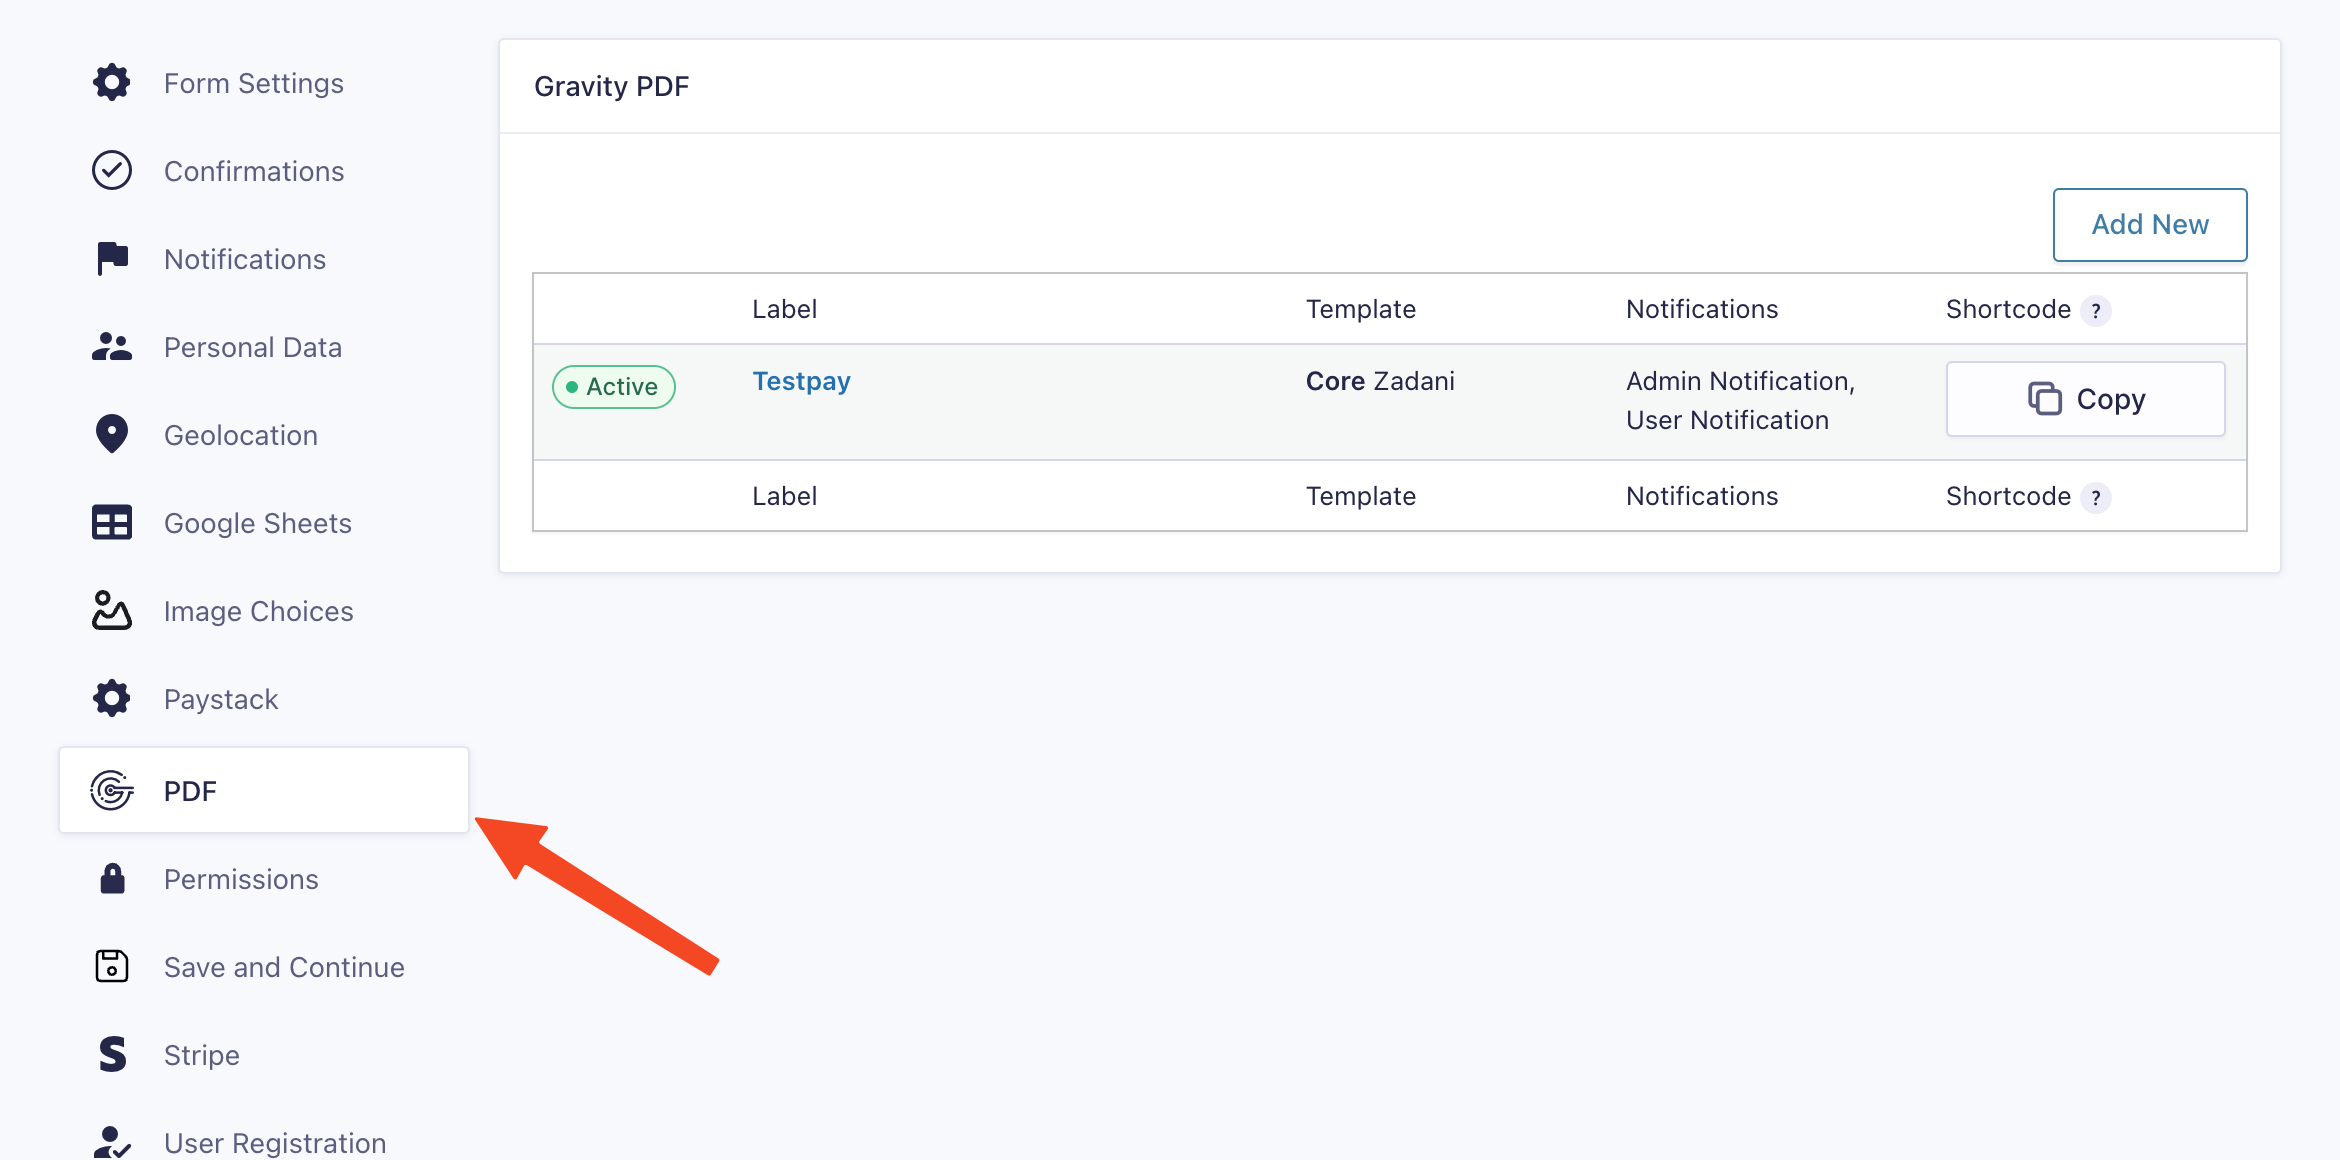
- Configure Gravity Forms PDF:
- Go to Form Settings > PDF.
- Create a new Gravity Forms PDF feed (if not already created) with the desired settings.
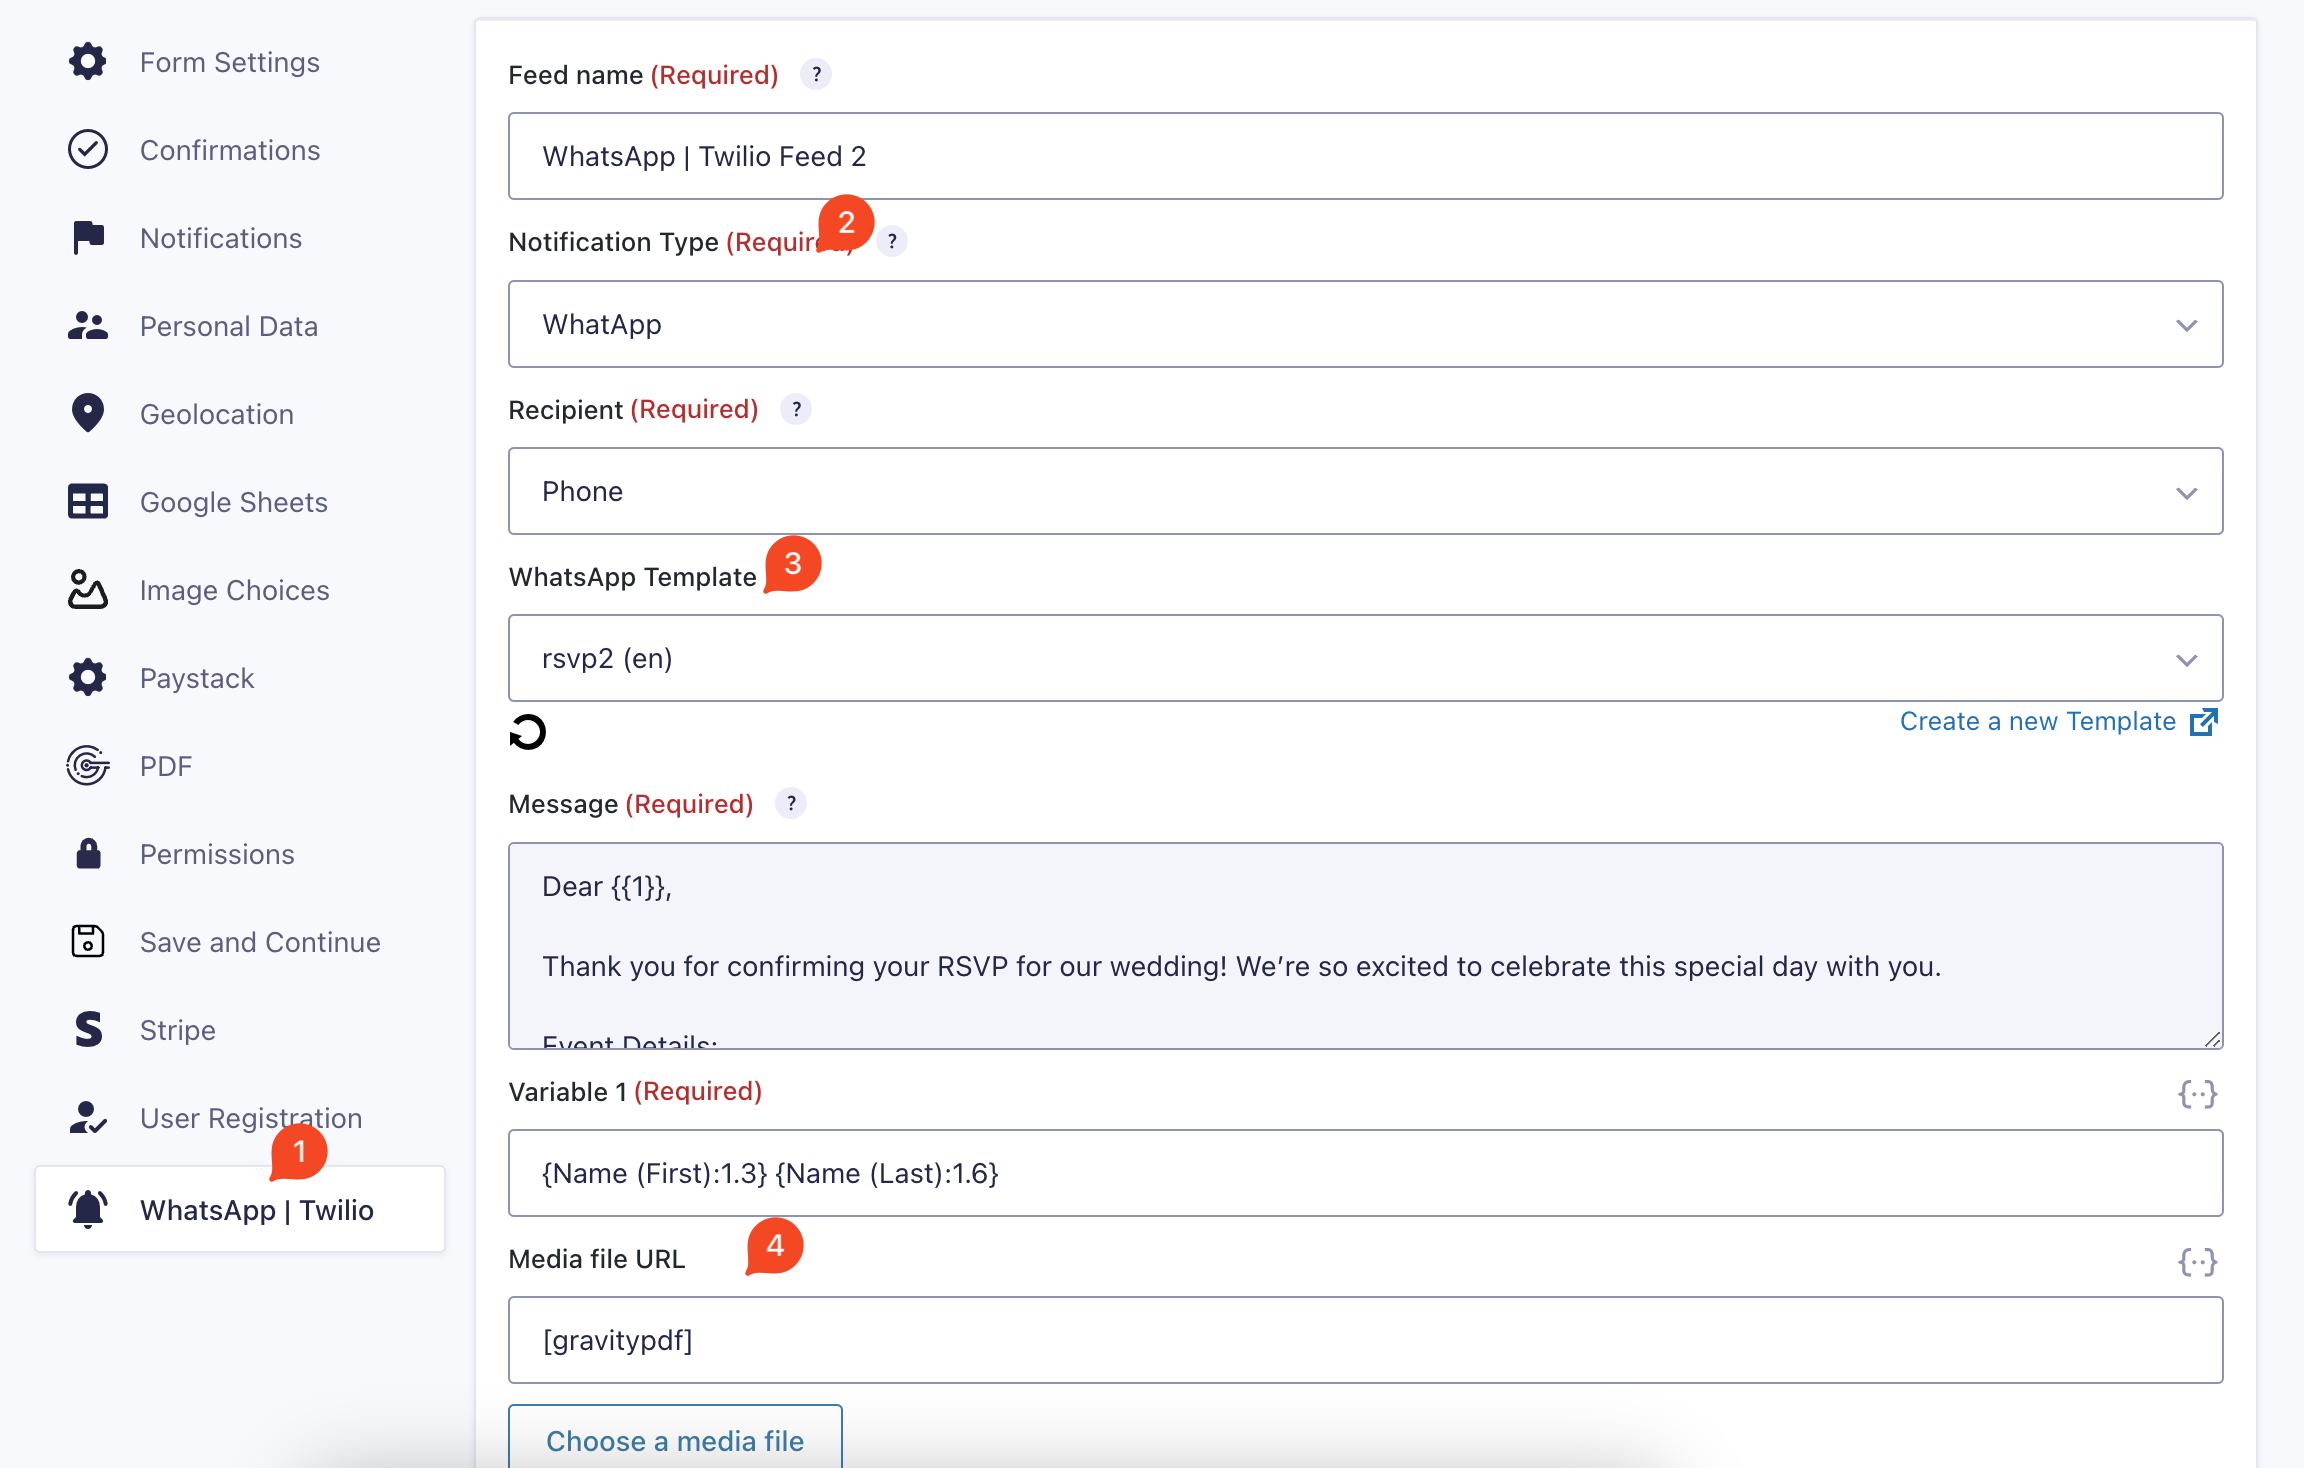
3. Create a new WhatsApp notification feed and select the recipient, WhatsApp template. In the Media file URL setting enter [gravitypdf].
Form submission
After configuring both feeds, go to the form on the front end, fill it out, and submit it. Upon submission, you will receive a WhatsApp message with the attached PDF generated by GravityPDF.
That’s it! If you still have any issues or questions regarding the integration, please feel free to contact our support team.