Installation
After purchasing the plugin, you will receive an email containing the download link for the plugin ZIP file along with your license key for activation.
Let’s see how to install and set up the Private Messaging for LifterLMS plugin.
- Download the plugin ZIP file.
- Go to Plugins > Add New in your WordPress dashboard.
- Click Upload Plugin and select the ZIP file.
- Click Install Now and then Activate.
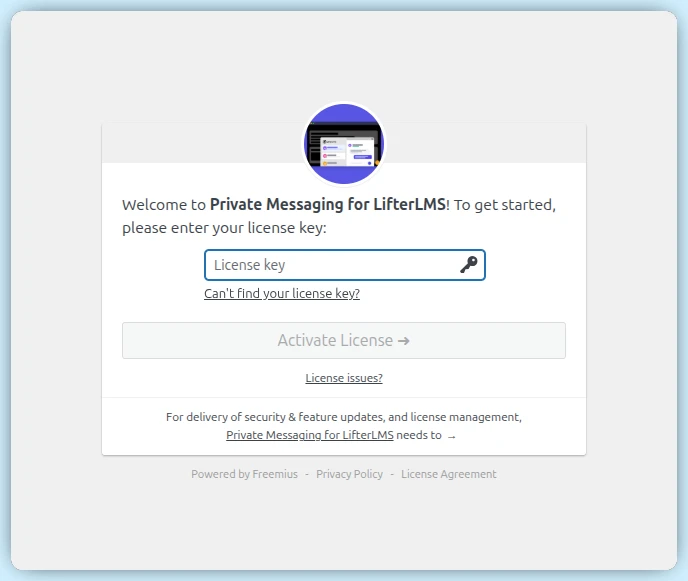
License Activation
After activation, you will be prompted to connect your site to Freemius.
- Enter your license key when prompted.
- Follow the on-screen instructions to complete the activation.
- Once activated, you can access settings via Private Messaging in the admin menu.
General Settings
The General Settings section allows you to configure the core behaviour and appearance of the Private Messaging feature for LifterLMS.
Design
Primary Color: Customize the main color used for the chat widget, buttons, and accents to match your brand.
Chat Settings
Enable Chat: Globally turn the chat widget on or off.
Enable Emoji: Allow users to express themselves with emojis. Click on ’emojis icon’.

Enable GIFs: Integrate with Giphy to allow users to send GIFs.

Allow File Upload: Drag and Drop file to Enable file sharing within conversations.

Formats: Specify allowed extensions (e.g., pdf, docx, jpg).
Max Size: Set the maximum file size (in MB) for uploads.

User Blocking:
Allow blocking user: Let users block others to prevent unwanted messages.
Role Restrictions: Specify user roles (like Administrators) that cannot be blocked.
Profanity Filter
Enable Profanity Filter: Automatically detect and filter profane or offensive language in user messages.
Commonly User Profanity: Automatically filter common profane words.
Custom Profanity Words: Enter your own profane words, separated by commas. Example: idiot, scumbag etc.
Filter Type: Select how profane words are handled – either mask them (e.g., Idiot becomes I****) or block the message entirely from being sent.

Video Call
Enhance communication by enabling Video Call functionality.
Enable Video Call: Allow users to make video calls. Access advanced features such as Screen and Whiteboard sharing.
Select Ringtone: Choose ringtone for an incoming calls.
This feature is powered by the Agora API. To activate video calling, you must provide your own Agora API credentials.
Refer to the documentation to learn how to obtain your Agora API key.

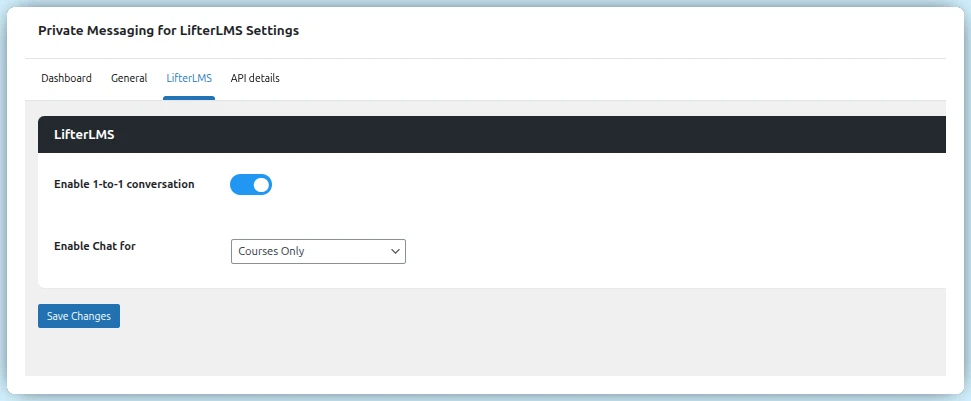
LifterLMS Settings
Define where and how messaging is available within your learning platform:
Enable one-to-one conversations: Toggle to enable interaction between users.
Enable Chat For: Choose where chat functionality is available – restrict it to course participants, membership members, or allow messaging across both.
- Courses Only: Enables chat exclusively between users enrolled in the same course.
- Memberships Only: Allows messaging only among users who share the same membership plan.
- Both Courses and Memberships: Enables chat between users connected through either shared courses or memberships.
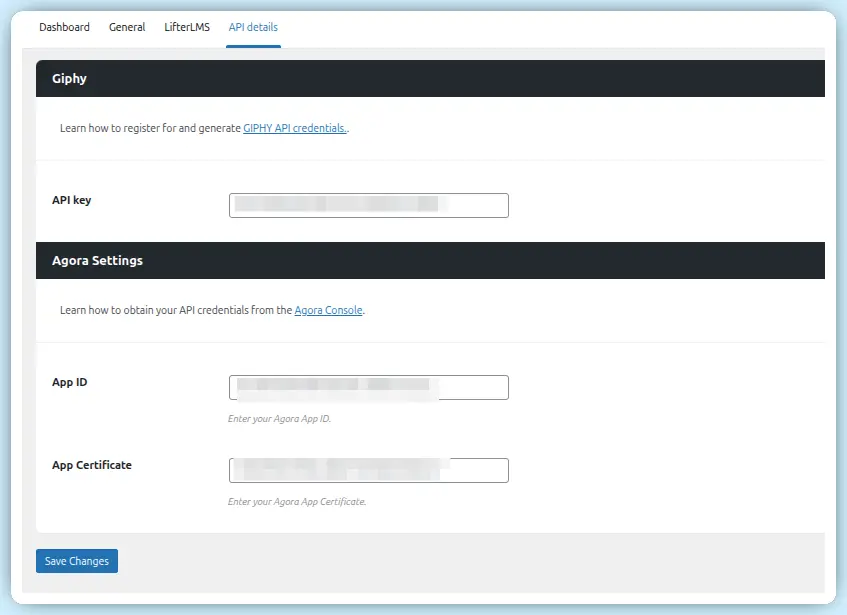
API Details
The API Details section is where you configure third-party integrations required for advanced features.
- GIF Integration:
Enter your API key from Giphy to enable GIF sharing in chats. ( Obtain a Giphy API key ) - Video Call Integration:
Provide your Agora App ID and App Certificate to enable the video calling feature and screen sharing. ( Generate Agora App ID and Certificate )
Final Setup & Usage
Once you have entered all required API credentials:
- Click Save Changes to apply your settings
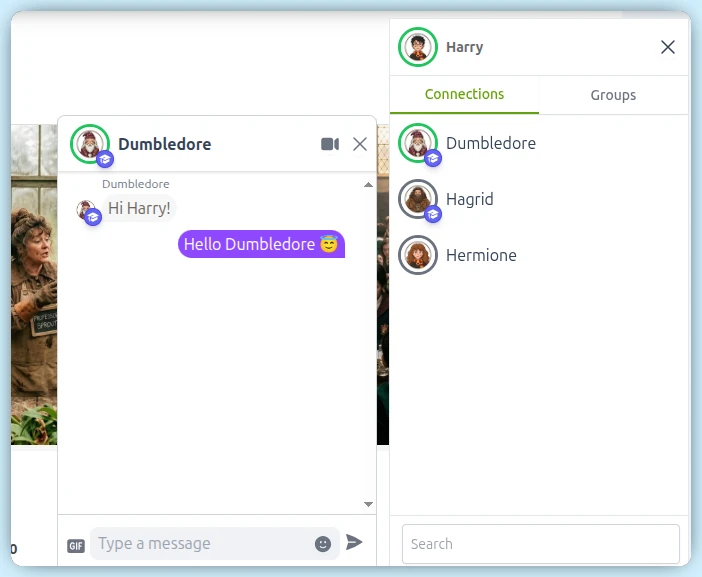
- Visit your website frontend to experience the Private Messaging widget.
Users can:
- Start conversations instantly
- Click the video call icon to initiate calls
- Use features like screen sharing and whiteboard during calls
You can also try a live demonstration using the provided demo link.